To edit our film opening successfully, we enlisted the help of editing software, Imovie to obtain a professional and polished edit of our film opening. Whilst perhaps not being the best editing software currently available, Imovie is able to offer a quick and easily accessible program with an easy to understand, user friendly interface that is designed with the casual but enthusiastic director in mind. Therefore, as a group we found the program extremely easy to use with little hassle deriving from our experience from using the software. Imovie is extremely versatile and easy to use by it's nature and as a group the only issues we found with using the software, to elaborate on the prefacing comments, was converting our film to a file compatible with use on an Apple Mac as our filming footage was only readable and detectable to begin with on the platform of a PC supporting the Windows operating system. However, once this issue had been rectified it became clear why Imovie was the recommended film editing software of choice for our capabilities as even our group, with virtually no prior experience in editing film footage aside from our preliminary task, were able to make rapid progress in accomplishing and overcoming our editing hurdles. Our use of the software was largely aided by instruction sheets provided to us by our teachers and from the great learning resource of the internet filled with clear, easy to follow instructions and commands available to us were we to get stuck in our editing.
Below is a guide that from our experience of using the editing software based upon our experience as a group in using it.
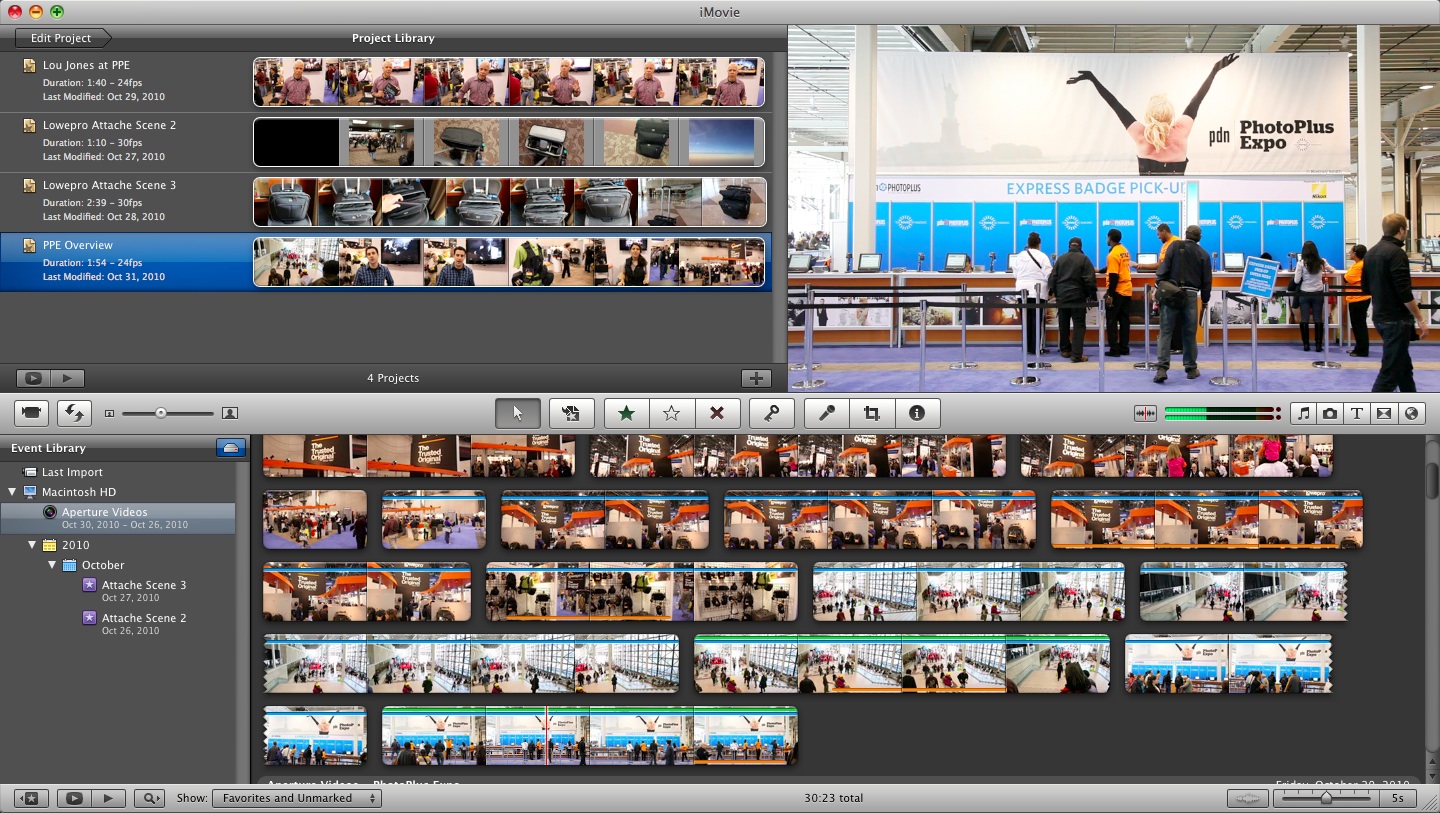
1) Importing- Importing is the way to get your clips from one location to another, in a way moving the clips from one location to another in much the same way goods are delivered from one location to another, the same process will be undertaken by the film footage- in this case, from an external device such as a video camera- and into the editing software, Imovie. Be aware that the importing process can take a while, so it is best to remain patient. It is also advisable to refrain from partaking in any other activities on the Mac whilst the import process is taking place as in doing so, the end result will be a prolonged and elongated import waiting time. The importing process can take a while due to the fact that Imovie will create a new thumbnail for most every clip, as was the case with our editing in which the total importation process took about 30 minutes. Once the importing process is complete you can set about with the enjoyable task of editing the film, which is where the real fun begins. You will first of all be required to create a new project in Imovie by selecting the option from the drop down menus and place all of the newly imported clips into a rough order of sequence.
2) Transitions can often, but not always, enhance and improve the quality of flow between clips and allow the whole sequence to flow to a greater effect. So you may well find yourself as a user of the software wanting to add some in. To add transitions to your footage select Transitions from the Window menu and drag in between the two scenes you wish to interject the transition with.
3) You may wish to crop certain aspects of shots that are perhaps not to your particular liking. for this reason you would be best advised to make use of the Cropping tool which is easily accessible by selecting the scene you wish to crop and unsurprisingly selecting the Crop button and then crop away until you are content with the extent of your cropping of the scene/ shot.
4) Besides just cropping, there are a number of changes that you are actually able to instigate on the video itself. Whilst editing your footage you are also able to experiment with saturation and exposure in every frame of footage. To activate these features hold shift and click and select the video adjust to begin editing this aspect of your video!
5) Adding Titles can be achieved in much the same way as adding transitions to your footage. Titles can be added by selecting Titles from the Window menu and then, like Transitions, can be dropped and inserted into the footage wherever they may be required or desired. The text contained within the title after it's insertion into the film is of editor discretion and preference as is editing of colour, font size and how the angle of the text appears in the final finished piece.
6) Editing/ Adding Sound. You may wish to add sound to your film opening. To do this simply select from the File menu the Music and Sound Effects tab and the whole music library that is stored on the Mac is available to requisition any audio file you may wish to use to accompany the footage you have selected.
7) Exportation of the movie after editing is complete is the final hurdle for any film-maker to overcome before having their movie published to a video sharing site such as YouTube. To export your finished, edited movie ready for upload, simply click the Export button under File and the exportation process from Imovie to the internet or external device will begin.
Hopefully this guide has provided an insight into the software we used to edit our film opening and how we were able to use the software to such great effect, as the tutorial shows the software is extremely versatile with no problems being incurred through our use of it as a group and that anyone can edit with the software very effectively and with little to no hassle!
Great info, So many people miss out on golden opportunities, not because of bad content, or lack of skill just because they’re using the WRONG kind of video.”
ReplyDeleteKlippyo lets you shoot, edit, and post engaging high-class videos from your phone in formats.
Klippyo Video Creator Review